Using a recurring payment schedule
The Recurring Payment Schedule allows you to easily create multiple payment schedules for a given period rather creating each payment schedule individually. You can plan ahead your payment collection and use a single recurring payment schedule, e.g. for the coming year. You can also use them to auto-collect payments over an unlimited period.
To create a recurring payment schedule:
- Launch the FinDock app.
- Click the Recurring Payment Schedules tab and click New.
- Select daily, weekly or monthly frequency, and then click Next.
- Fill out the schedule information as needed. Use the tooltips and refer to the Recurring Payment Schedule object field descriptions for guidance.
- Click Save to store the schedule, or click Save & New to save the schedule and open a new one.
Once saved, you get a preview of the payment schedule records that will be generated by the recurring payment schedule. You can modify dates and remove payment schedules that do not need to be generated. Until this point, no changes to Salesforce data are made.
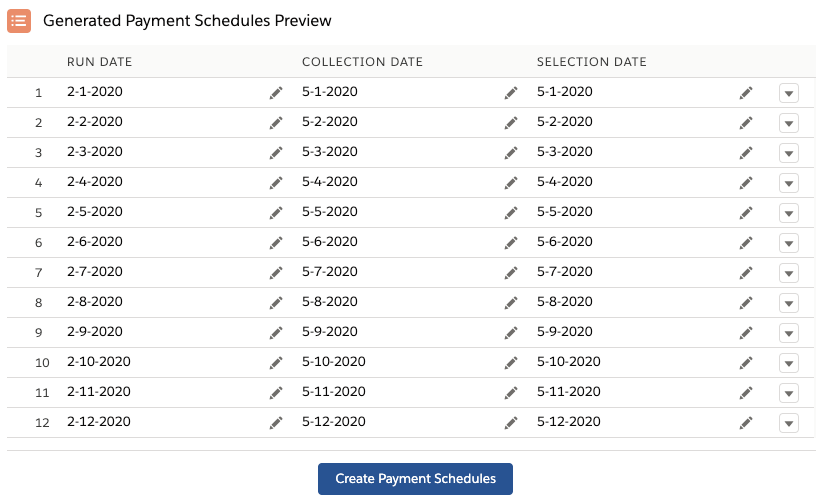
After you are done with your modification in the preview and Auto Create is selected, FinDock automatically creates payment schedules according to the parameters you defined on the recurring schedule.
Click Create Payment Schedules, if you didn't select Auto Create. At this point the payment schedule records are created in Salesforce.