This article describes how to install FinDock Core and other required packages in your Salesforce org. Once installed, we'll go through the basic settings for FinDock Core.
Some FinDock packages may use prior naming "StepOrange CPM" or "PaymentHub."
- FinDock Core (mandatory): core setup and features
- ProcessingHub (mandatory): ProcessingHub and WebHub setup
Before installing FinDock, please check that your org has:
FinDock Setup uses iFramed Visualforce pages. If you have enabled clickjack protection, you need to add your org URL as a Trusted Domain or disable clickjacking. Otherwise, you will get a refused-to-connect Visualforce error.
FinDock provides an Installer to guide you through the installation process. You can use the Installer for any FinDock package, but here we are just installing the main packages without payment extensions or source connectors.
To install required FinDock packages:
- Using your system administrator account, log in to the org where you want to Install FinDock.
- In the same or different browser tab, open the FinDock Installer.
- Select the org type (production or sandbox) for the installation.

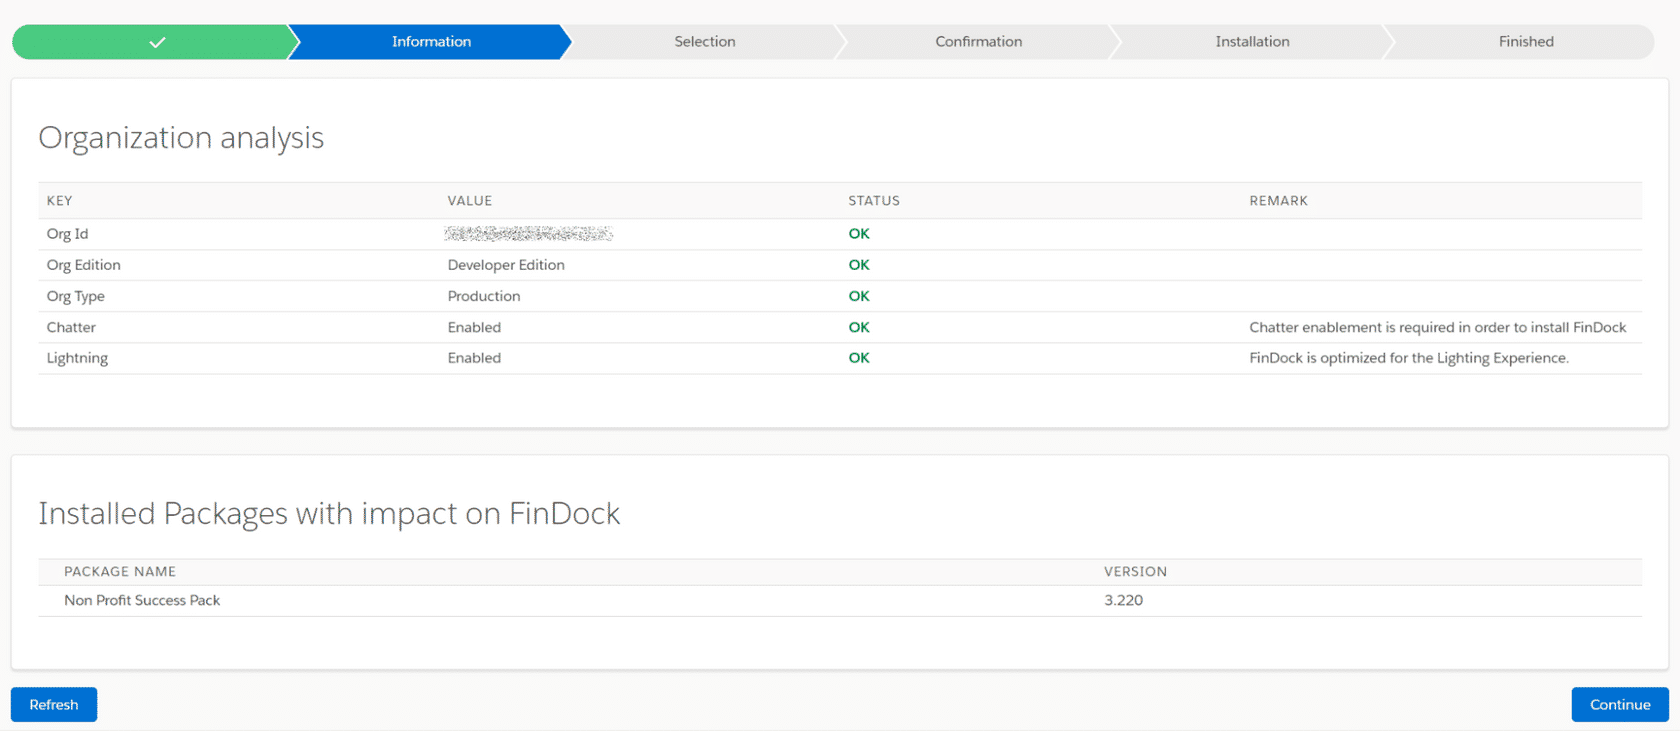
- Confirm the org analysis iss correct and click Continue.
- Confirm FinDock Core and ProcessingHub are selected and click Continue.

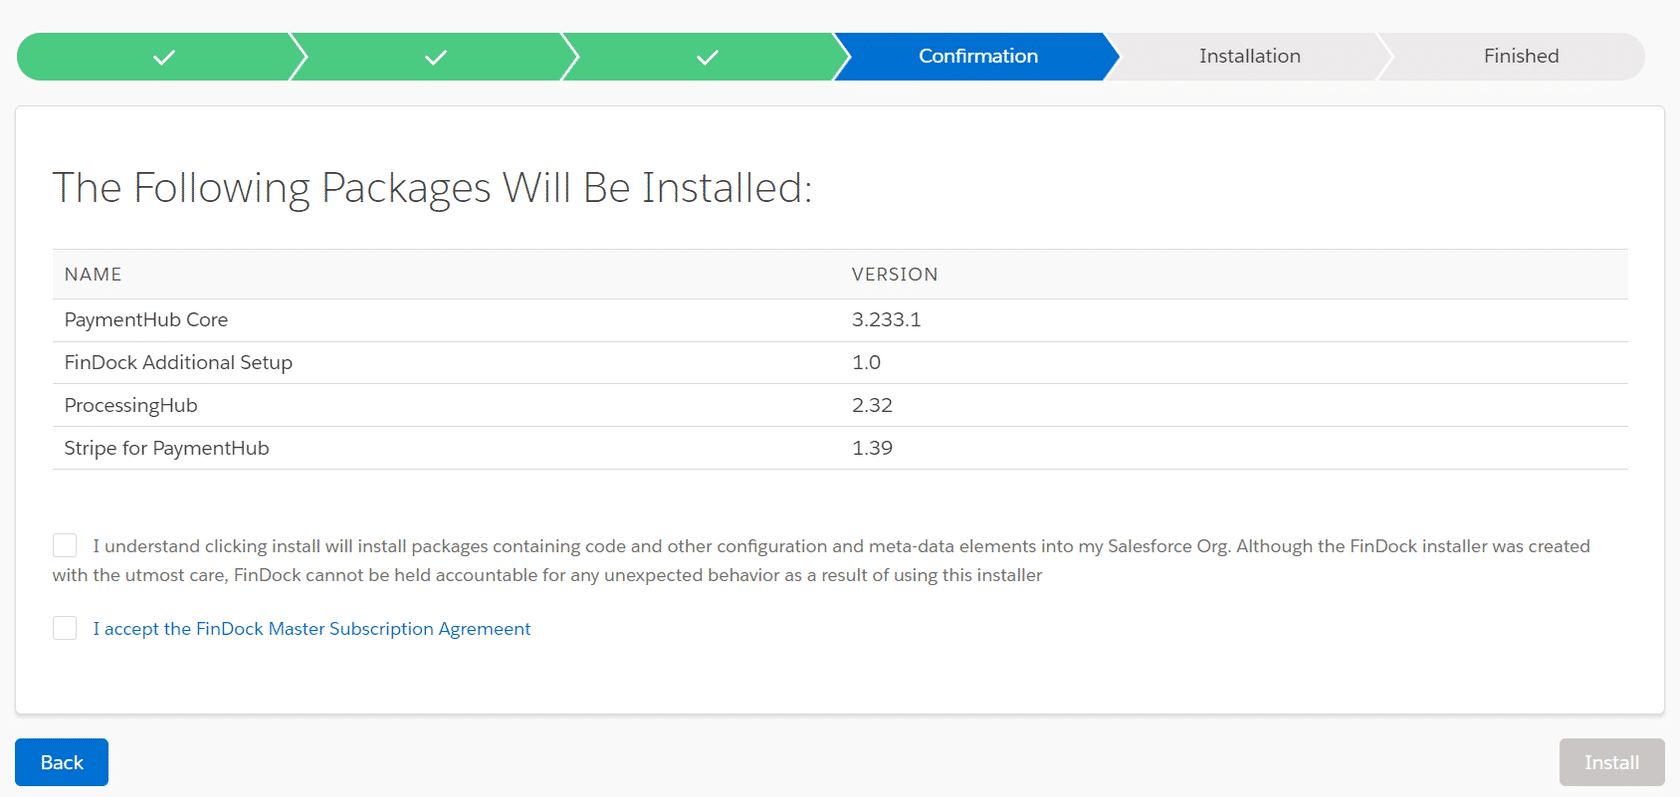
- Read the installation information carefully and confirm you are ready with the checkboxes below, and then click Install.
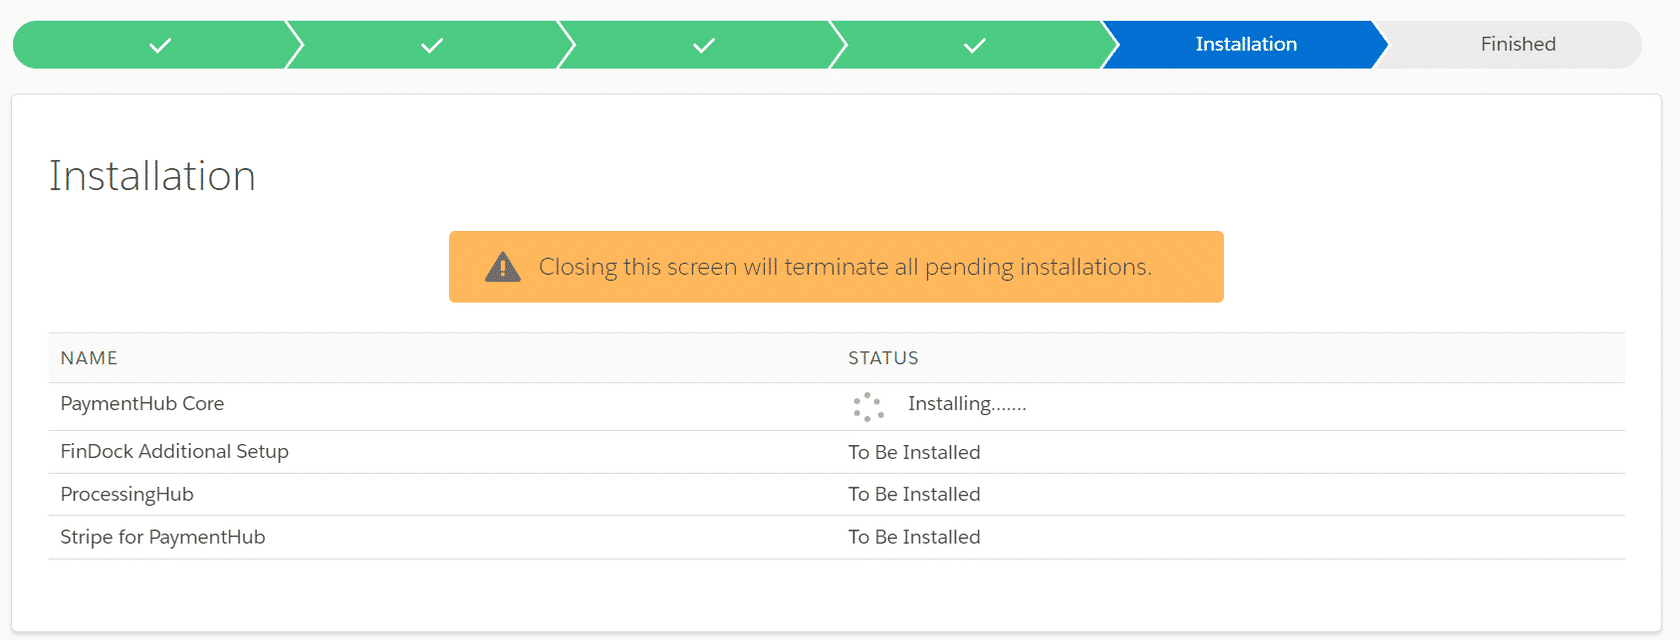
- Wait for the packages to be installed. Do not close the window while installing!
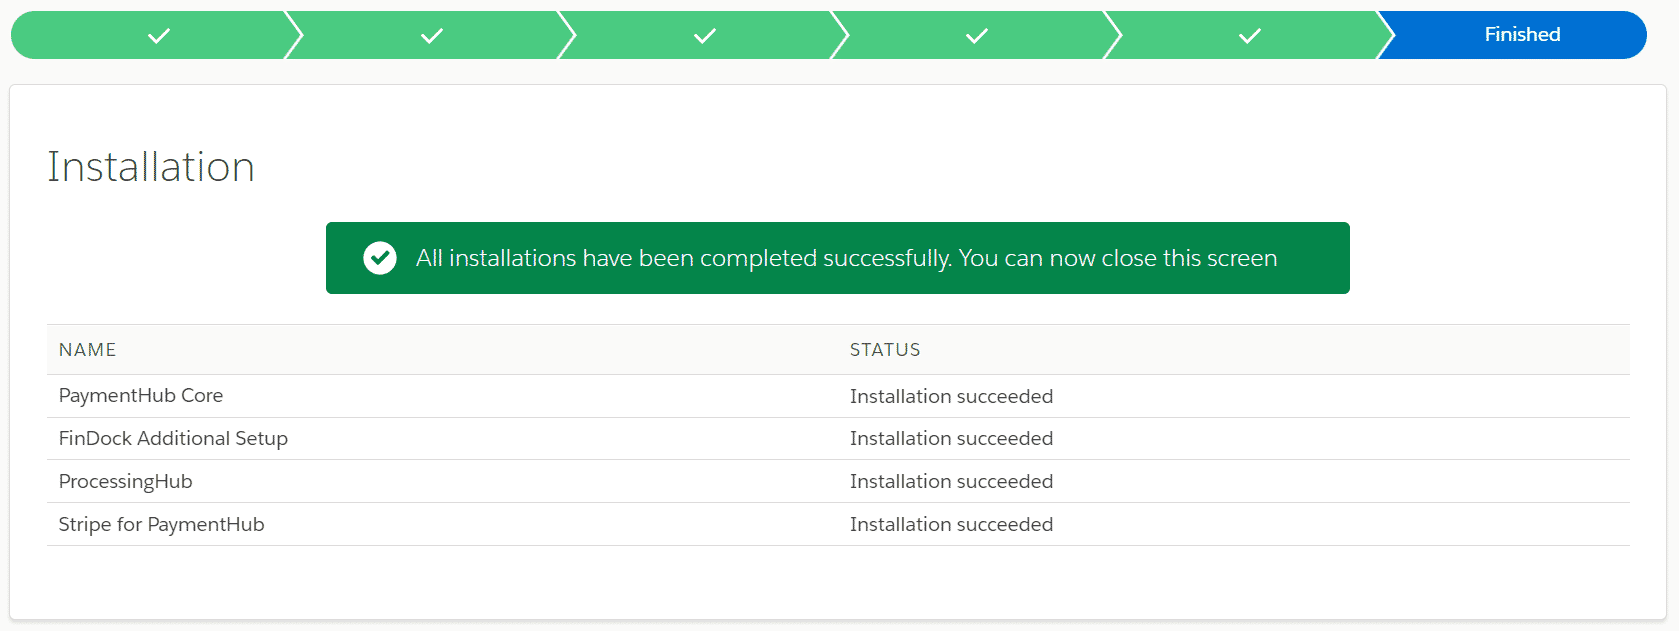
- The Installer indicates when the installations are successfully completed.
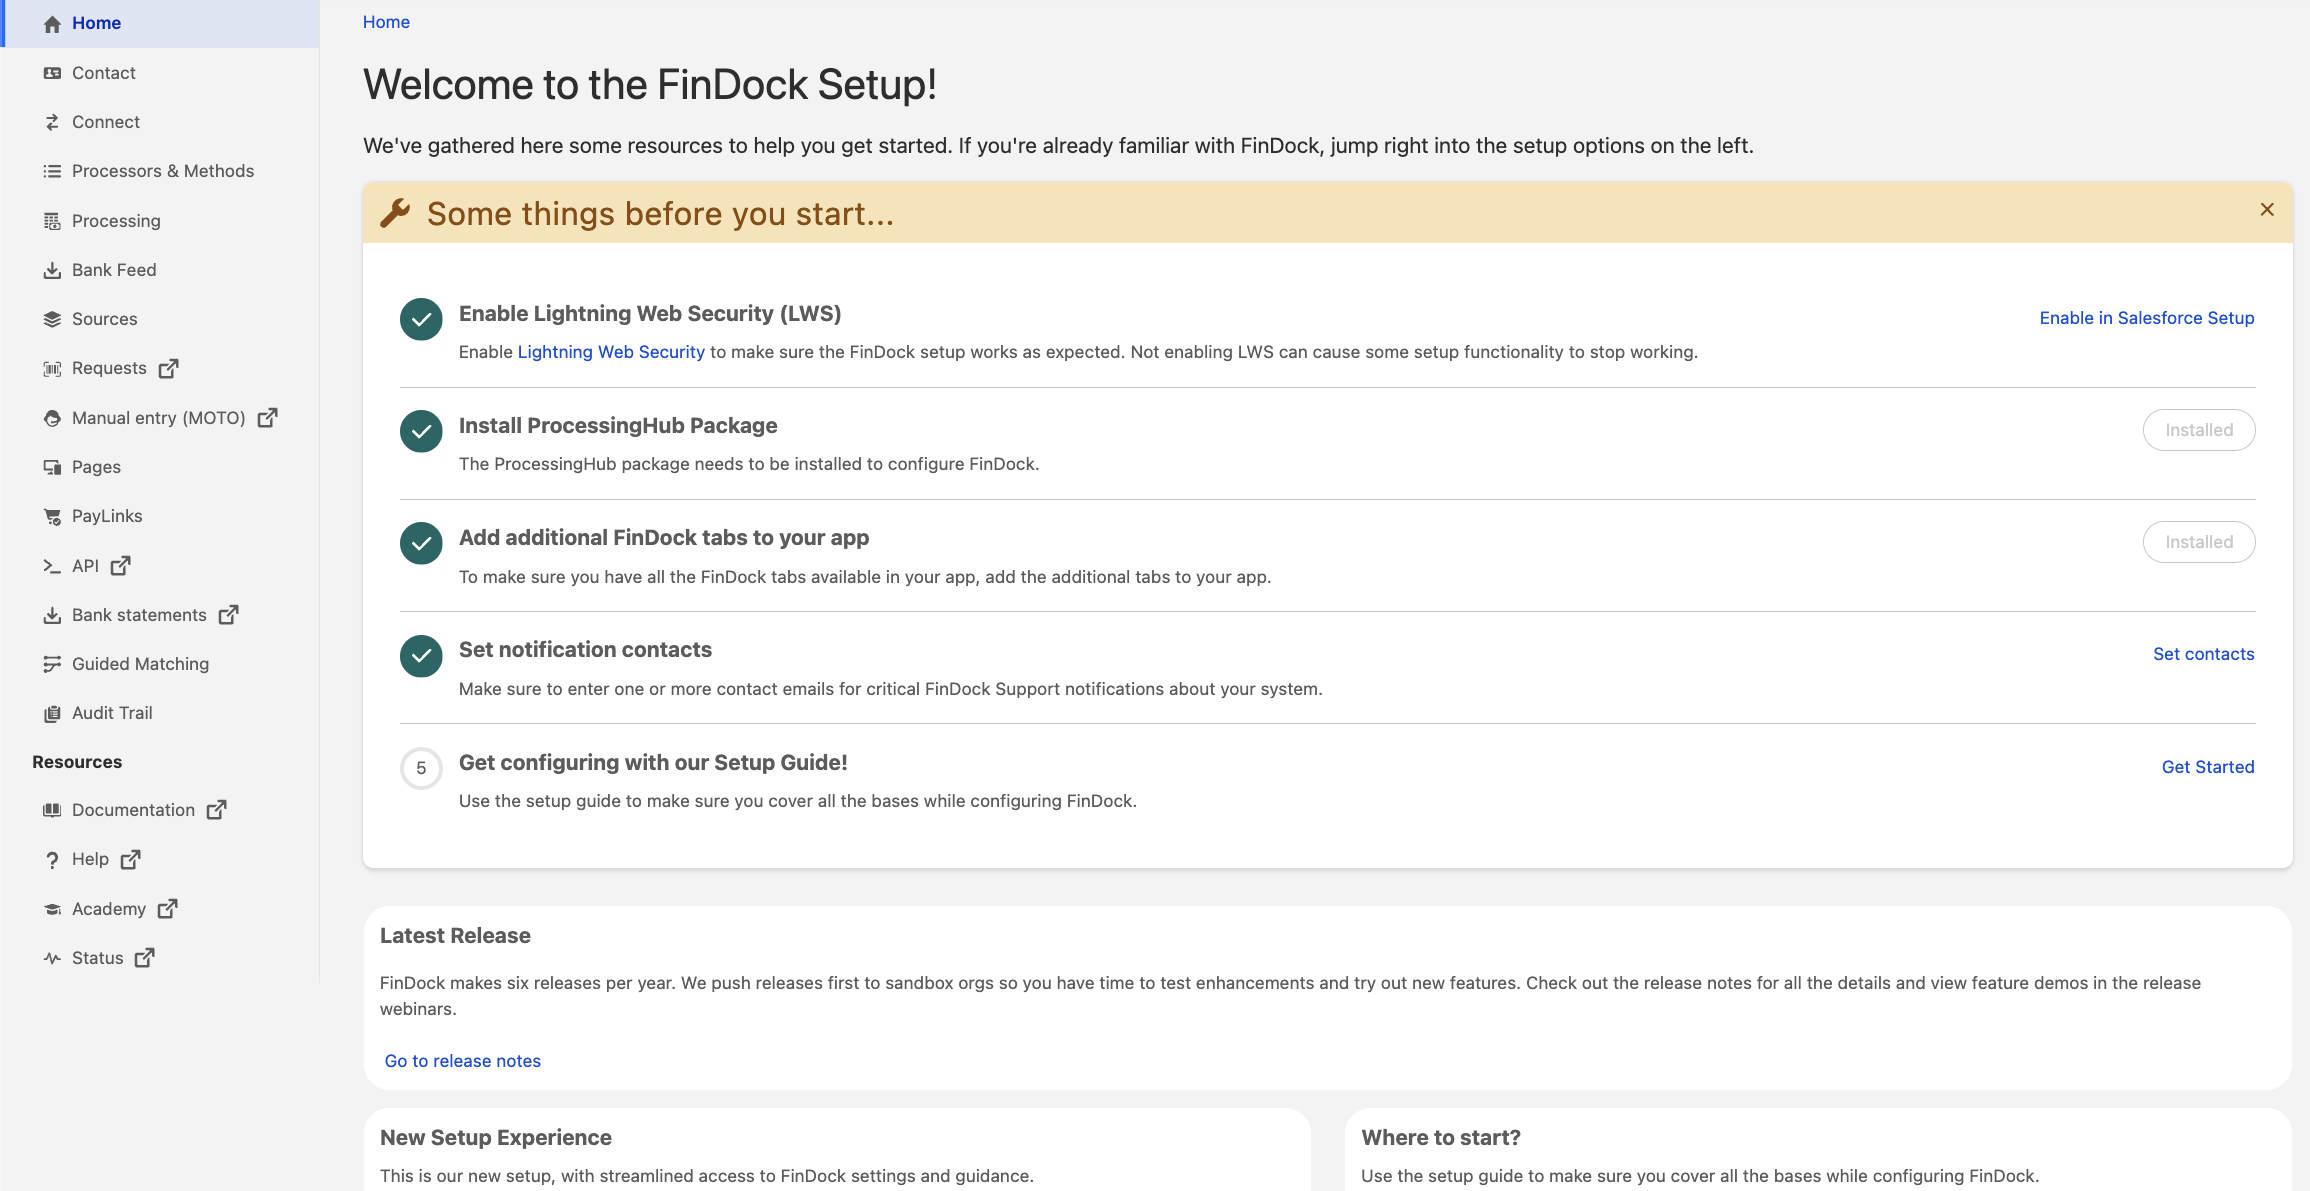
The enhanced FinDock Setup is your portal to all FinDock settings.
To be able to use the new FinDock Setup, Salesforce Lightning Web Security (LWS) must be enabled. If it is not, you can enable LWS manually. You also need the FinDock Administrator permission set group to access FinDock Setup.
In addition to configuring FinDock, you can install and activate source connector and payment extension packages directly from FinDock Setup. FinDock handles deploying configuration changes for you. This ensures, for example, that picklist values in control fields such as those on payment schedules correctly display what is configured and available for payment processing. The deployment also overwrites custom dependencies on control picklists.
If you have a dependency on a picklist managed by FinDock, such as Payment Method, you need to re-create the dependency after new configuration deployments.
The deployment framework uses an external app, FinDock MIDAS, running on Heroku. You are automatically prompted to allow the app to access your org when needed. Please note that when prompted, the current user account needs to have FinDock admin permissions alongside standard Salesforce admin permissions. Authorization expires after some hours of idle time. After expiration, you are prompted to authorize the app when you make your next changes to the FinDock setup.
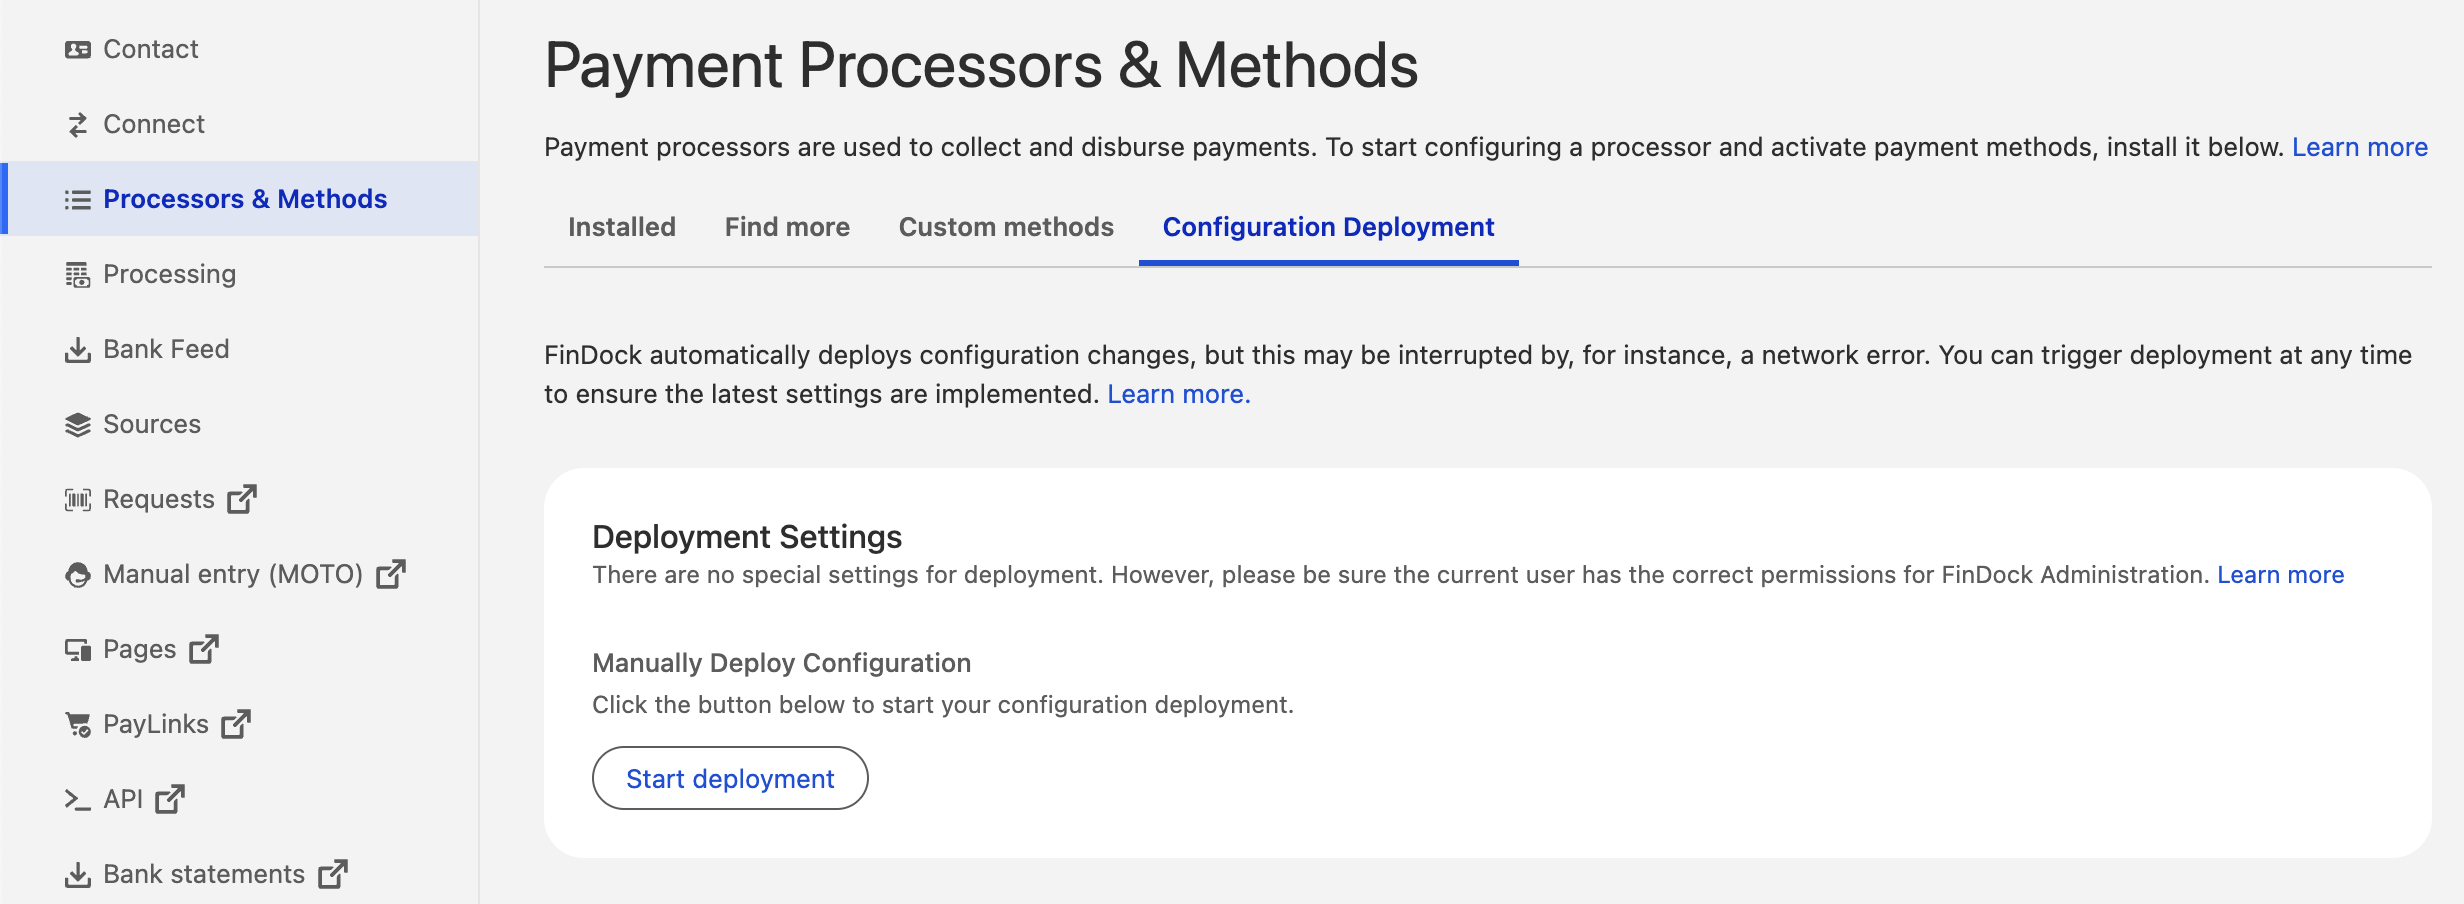
Typically, the automatic deployment mechanism is triggered and completes as expected. However, in certain conditions, such as a temporary network connection issue, deployment may get interrupted. If your org is not in light with your latest configuration changes, you can manually start deployment from the Configuration Deployment tab under Processors & Methods.
Once you have the required FinDock packages installed, the next step is to adjust and assign permissions. Then you can move on to FinDock Core and other setup topics.
- Configure permissions.
- Configure FinDock Core.
- Connect FinDock ProcessingHub and WebHub.
- Add payment extensions
- Add a source connector